In this video I want to show you how to remove a screwed post using ultrasonics. These posts has been used for a lot of years to give support to the restoration after a root canal treatment. Nowadays fiber posts which can be bonded instead of screwed, are commonly used instead of these old fashion solutions. Removing the post it’s a matter of patience, you have to break the cement around the post to make it loose. This kind of complications are just my #EverydayENDO cases. Watch the video in 720p50HD.
In this case, the doctor referring the patient asked me if I could retrieve the broken file.
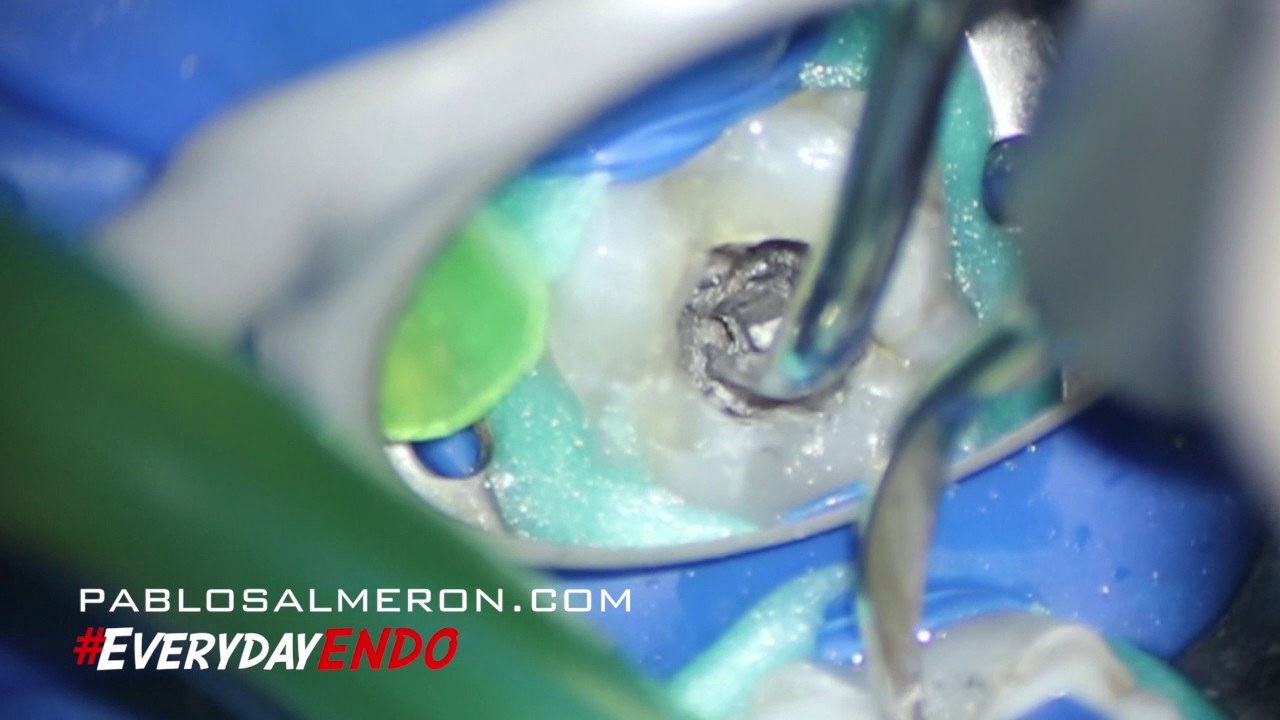
Broken file in mesial root
File retrieval is always changeling for me because usually requires a lot of time and the collaboration of the patient trying not to move due to the high magnified field of view where I work on and a lot of patience as well; the use of the proper equipment plays a very important role.
This case has been done with ProUltra ultrasonic tips (Dentsply) under the LabomedMagnasurgical microscope view.
These tips are made of titanium and can be pre-curved allowing to work in the direction you want. The bad side of these instruments is that they tend to get blunt and break very easily.
The use of the macriscope is a must, you need to see where are you activating the ultrasonic tip to preserve as much dentin as possible and to avoid perforations.
Broken file removed from mesial root
The broken file it behaves as a rigid body due its short length although the alloy what is made of should let it behave as a flexible metal. As I told before, be patient and remove dentin little by little to create more space is the only way to get the file out of the canal.
My advice for this kind of situations is try to bypass the broken file first, and if you can’t, try to retrieve it. Bypassing instruments is something that I’m not able to do 90% of the time.
One of the most important things in Endodontics is planification, for that, we need to have an excellent knowledge of the pulp chamber anatomy as well as the different variants in configurations of the root canal system anatomy. Nowadays, and according to the American Association of Endodontists, the use of the CBCT is a standard in our field. This tool, allow us to see the tooth in a 3D model, and check the anatomy from every angle.
On the next case, I completed a root canal treatment in a second maxillary molar, almost the last tooth! the complexity of the case was the minimal mouth aperture of the patient and the tricky root canal anatomy with these 4 canals. Planning the cases before, allow me to do the treatments in a shorter and safer way.
Today’s case is a 11 year old patient with a big caries on the second maxillary molar referred to me to save the tooth. My duty as endodontist is not only providing root canal treatments but also preserving teeth from them too.
In this particularly case I performed a pulp horn amputation.
These are the steps taken:
– Rubber dam isolation.
– Microscope magnification.
– Manual removal of the soft dentin with excavator.
– Pulp horn amputation.
– Disinfected and rinsed with NaOCl from “outside” to achieve haemostasis.
– Dried with sterile cotton pellets.
– Bioceramic capping.
– Direct glass ionomer as temporally filling on top.